If you’re like me and looking for ethical alternatives to the big tech AI services, you’re going to love this. Thaura.AI is an amazing alternative that respects your privacy and doesn’t sell your data to corporations.
Why Thaura AI?
Before we dive into the setup, let me tell you why Thaura AI is awesome:
- Privacy-first: Your data stays yours – no selling to big tech companies
- Ethical AI: Built with responsible AI principles in mind
- Compatible: Works seamlessly with tools like Cursor that support OpenAI-compatible APIs
Pre-Step: Get Your Thaura API Key
First things first, you need to get your API key from Thaura:
- Go to Thaura.AI and create an account if you haven’t already
- Navigate to your dashboard and find the API key section
- Copy your API key – you’ll need this for the next steps
Step 1: Open Cursor Settings
Once you have your API key ready, open Cursor and let’s get started:
- Open Cursor IDE
- Go to Settings (you can use Cmd+, on Mac or Ctrl+, on Windows/Linux)
- Look for the API Keys section under the OpenAI settings

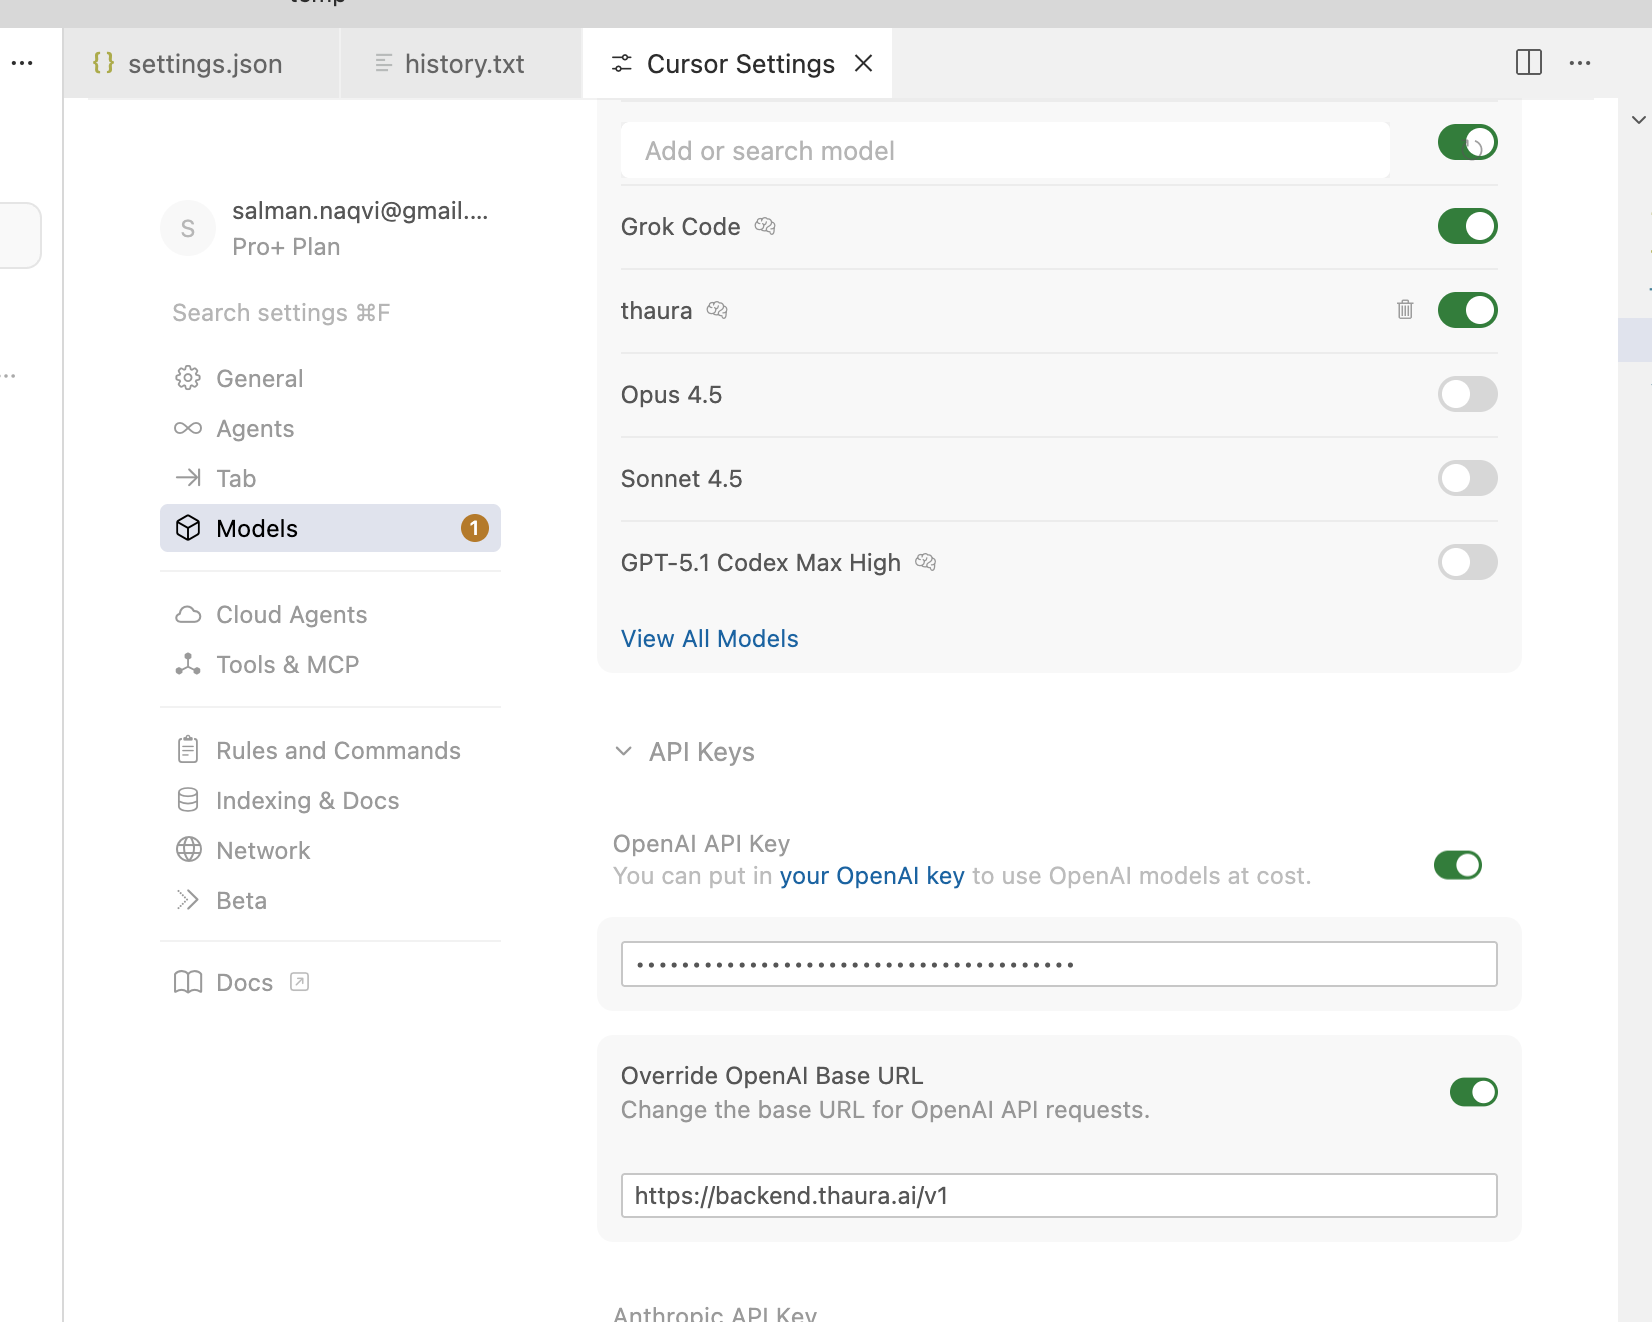
Step 2: Add Your Thaura API Key
This is where the magic happens! Since Thaura AI uses an OpenAI-compatible API, you can add it right in the same section:
- In the OpenAI API Key section, paste your Thaura API key
- Make sure the base URL is set to
https://backend.thaura.ai/v1 (this is important!) - Save the settings
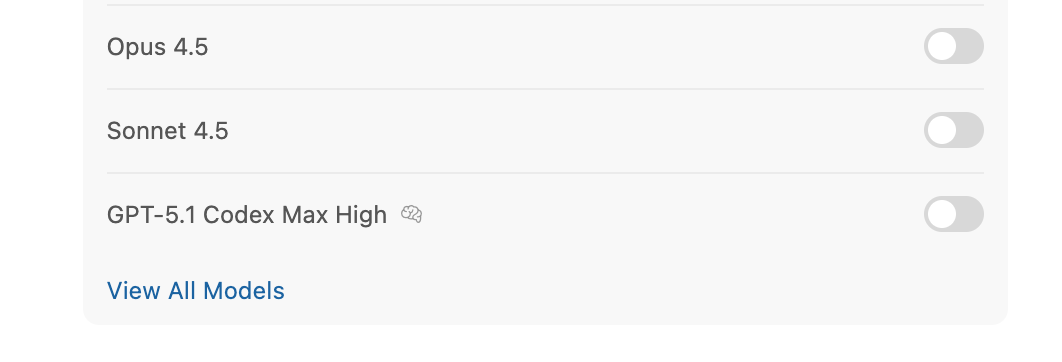
Step 3: View All Models
Now let’s add the Thaura model to your available options:
- Go back to the main settings
- Look for Models or Model Settings
- Click on “View All Models”

Step 4: Add Custom Model
Time to add Thaura as a custom model:
- Click on “Add Custom Model”
- You’ll see a dialog box asking for the model name
- Type
thaura(all lowercase, no quotes) in the model name field - Click “Add” to save it

Step 5: RESTART CURSOR
I can’t stress this enough – you MUST restart Cursor for the changes to take effect. This is a common step that people often forget, but it’s crucial for the new model to be recognized.
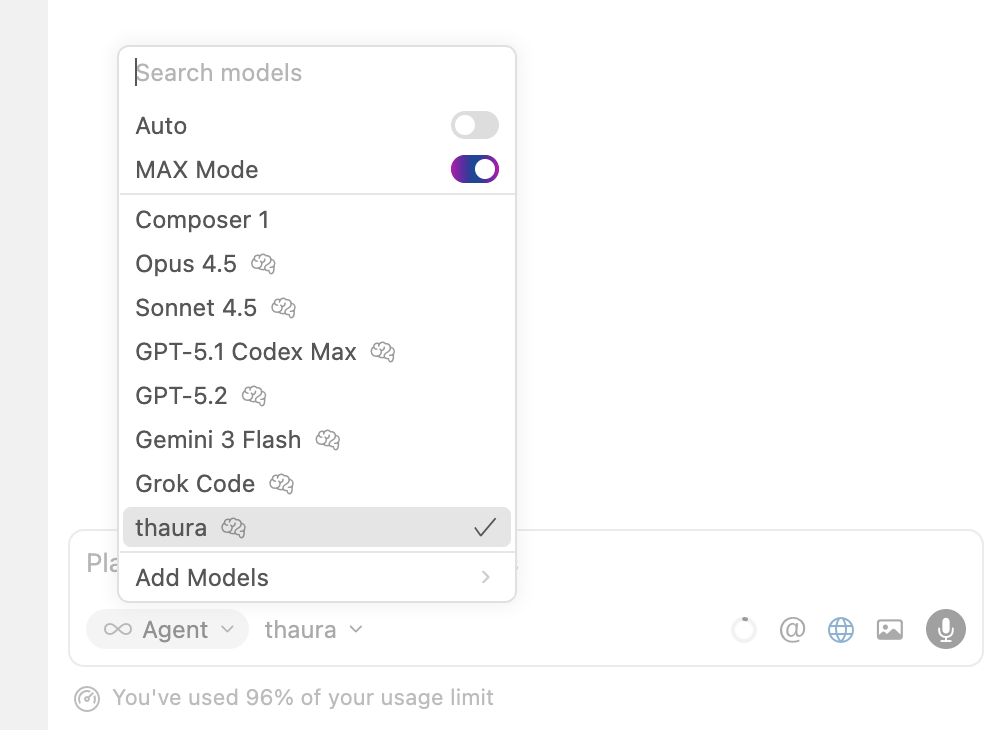
Step 6: Start a new chat using “New Agent” button
Now for the fun part! Let’s create a new agent using Thaura:
- Click on “New Agent” in Cursor
- When the model selection appears, choose “thaura” from the list
- Give your agent a name if you want (optional)
- Create the agent

Step 7: Test Your New Thaura Agent
Let’s give it a test run to make sure everything works:
- Open any file or create a new one
- Type a test prompt like:
Can you help me write a simple JavaScript function that adds two numbers? - Hit Enter and watch Thaura AI in action!

Setting up Thaura AI with Cursor is super easy and totally worth it. You get all the benefits of AI coding assistance without the privacy concerns that come with big tech services. Plus, you’re supporting ethical AI development!
Give it a try and let me know how it works for you. Happy coding!
Same steps as above, but showing screenshots (Cursor change UI often so this might look a little different within a few months).